What Is a Bulk Image Resizer?
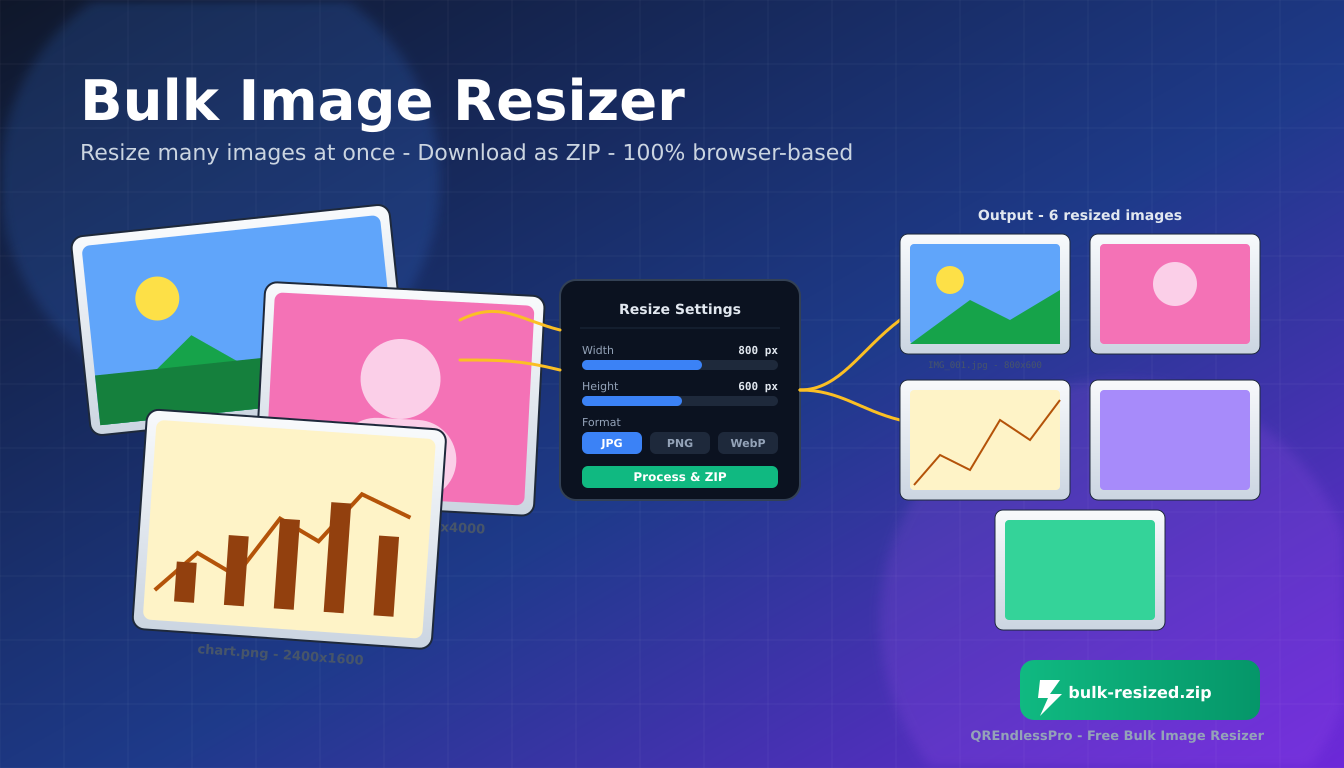
A bulk image resizer is a tool that takes many image files at once and shrinks (or grows) every one of them to the same target size. Instead of opening each photo in an editor, resizing it, saving, and repeating 50 times, you drop the whole folder onto the tool, type one number, click one button, and get back a single ZIP file containing every resized image.
Think of it as a copy machine for image dimensions. You give the tool a pile of photos, tell it the new width (or height, or a percentage), and it gives you back the same pile — every photo now resized to that target. Nothing is uploaded. Nothing is sent to a server. Everything happens inside your browser.
Why Use Our Free Bulk Image Resizer?
Here are five reasons people pick our tool:
- Many images at once. Drop 10, 50, or 200 photos in one go. The tool resizes every one of them with the same settings and bundles the results into a single ZIP archive.
- Pixels or percentage. Type an exact pixel size, or drag a percentage slider from 10% to 200%. Pick whichever is easier for your task — a fixed pixel width for product photos, or 50% for a quick preview set.
- Three output formats. Save as PNG (lossless, transparent), JPG (smallest, best for photos), or WebP (modern, even smaller). Tune JPG and WebP quality from 50% to 100% to balance file size against sharpness.
- 100% browser-based. No software to install. No sign up. No image is ever uploaded to a server. Every resize happens inside your browser on the HTML5 canvas, and JSZip builds the ZIP file on your device.
- Free and unlimited. Resize as many batches as you want. No watermarks. No daily limits. No hidden fees. The tool is free forever.
How Bulk Image Resizing Works: A Simple Explanation
Behind the screen, the tool uses two built-in browser features: the HTML5 Canvas API and the JSZip JavaScript library. When you click Process, the tool does four things for every image:
First, it loads the image into memory and reads its original width and height. Second, it computes the new dimensions — either the target pixels you typed, or the original size multiplied by your chosen percentage. Third, it draws the image onto a canvas at the new dimensions using the canvas 2D drawing API. Fourth, it converts the canvas back into an image file (PNG, JPG, or WebP) at the quality you picked. After every image is processed, the tool bundles them all into a single ZIP archive.
All of this happens inside your browser. The original photos never leave your device. That means your personal photos, product images, or client work stay completely private — perfect for sensitive material.
Step-by-Step: Using the Bulk Image Resizer
Follow these four steps to resize a big batch of images:
- Add your images. Click the drop zone and pick many files, drag a folder of images onto the zone, or paste a screenshot from your clipboard with Ctrl/Cmd + V. Thumbnails, filenames, and original dimensions appear in the list below.
- Pick your resize mode. Choose Pixels for an exact target width or height. Choose Percentage to scale every image by a percent of its own original size (so 50% makes a 4000px image 2000px, and a 2000px image 1000px — each keeps its aspect ratio).
- Set format and quality. Pick PNG (lossless, keeps transparency), JPG (best for photos, smallest size), or WebP (modern, even smaller). Drag the quality slider for JPG and WebP — 70% is a great default for web use.
- Click Process & ZIP. Watch the progress bar move image by image (Processing 5 of 50…). See the before / after dimensions and file sizes in the results list. Click Download ZIP to save all resized images in one click.
Real-World Examples of Bulk Resizing
Here are three real jobs where a bulk resizer saves hours of work:
- 100 product photos for an online shop. A small seller has 100 new items, each shot at a different size. They drop all 100 into the tool, set width to 800px with Maintain Aspect Ratio on, output as quality-85 JPG. They get back one ZIP with every photo at 800px wide — ready to upload to Shopify or Etsy.
- 50 real estate listing photos. An agent needs every listing photo at 1600×1200 for the MLS. They drop 50 photos in, set width 1600 and height 1200 with Maintain Aspect Ratio off (so every photo is stretched to exact 1600×1200), output as quality-80 JPG. One ZIP, one click, done.
- 200 email attachments. A teacher has 200 photos from a field trip, each 5 MB. They drop all 200 in, switch to Percentage mode at 25%, output as quality-70 WebP. The result is a 5 MB ZIP of 200 small photos — easy to email to parents in one message.
Who Uses a Bulk Image Resizer? Industries and Roles
Lots of people need many images at the same size. Here are five common groups:
- E-commerce — product catalogs. Online shops resize hundreds of product photos to a uniform 800×800 or 1000×1000 before uploading. A bulk tool makes the whole catalog match in one click.
- Blogging & CMS — article images. Bloggers resize every photo to 1200px wide before publishing. Keeps page weight low, layout consistent, and Core Web Vitals fast.
- Real estate — MLS listings. Agents resize listing photos to 1600×1200 or whatever the local MLS requires. One ZIP, every photo ready.
- Social media & marketing. Marketers resize campaign images to 1080×1080 for Instagram or 1200×630 for Facebook link previews. Bulk tool makes every post look identical.
- Education & events. Teachers and event coordinators shrink field-trip or wedding photos before uploading to a shared drive. Saves bandwidth and storage space.
Bulk Image Resizer Glossary: Key Terms Explained
These six words show up a lot when people talk about image resizing. Here is what each one means:
- Bulk
- Doing many things at once. In image resizing, bulk means resizing 10, 50, or 200 images in one batch instead of one at a time.
- Aspect Ratio
- The ratio of width to height. A 4:3 image is 4 units wide for every 3 units tall. Maintaining aspect ratio means keeping this ratio after resizing so the image does not stretch or squish.
- Pixels
- The tiny dots that make up a digital image. A 800×600 image has 800 dots across and 600 dots down. More pixels means sharper, but a bigger file.
- Quality
- How much compression is applied to JPG and WebP files. Lower quality = smaller file but more visible artifacts. 70%–85% is a good range for web photos.
- ZIP Archive
- A single file that holds many files inside. Our tool bundles one resized image per file into a single ZIP so you only download one file.
- Canvas API
- A built-in browser feature that lets JavaScript draw on a rectangle. We use it to redraw each image at the new dimensions, then save the canvas back as an image file.
Tips for Getting the Best Results
Follow these five tips and your resized images will look sharp and load fast:
- Pick the right format for the content. Photos of people and places look best as JPG or WebP. Screenshots, logos, and graphics with sharp edges look best as PNG. WebP is the smallest at high quality — use it when the browser supports it (all modern browsers do).
- Use Maintain Aspect Ratio when you can. Stretching images to exact dimensions distorts them. Lock the aspect ratio, set just the width, and every image keeps its proportions.
- Quality 70%–85% is the sweet spot for JPG. Below 70% you will see artifacts; above 90% the file size grows with no visible improvement. Start at 80% and adjust from there.
- Test a small batch first. Drop 3 images, run the tool, and check the output. Confirm the dimensions, format, and quality look right before you run 200 images through.
- Keep batches under ~200 images. Browsers have memory limits. If you try to resize 1,000 images at once, the page may freeze. Run multiple batches of 100–200 instead.
Common Mistakes to Avoid
These four mistakes cause most bulk-resize problems:
- Forgetting to maintain aspect ratio. If you set width and height both to exact numbers with the toggle off, every image gets stretched. People look too thin or too wide. Always toggle Maintain Aspect Ratio on for photos.
- Picking the wrong output format. Saving a photo as PNG gives a huge file with no benefit. Saving a logo with sharp edges as JPG introduces blur around the edges. Match the format to the content.
- Setting quality too low. A 50% JPG is much smaller but has visible blocky artifacts. For anything people will look at, stay above 70%.
- Trying to upscale small images. If a photo is 400×300 and you ask for 2000×1500, the result will look blurry. The tool can do it, but you cannot add detail that was not in the original.
Bulk Image Resizer vs Single Image Resizer
A single image resizer is great when you have one photo to resize. You can preview the result, tweak the dimensions, see the file size change in real time, and download. It is visual and precise. The downside is that you have to repeat every step for each new image, which is slow if you have 50 of them.
A bulk image resizer is the better choice when you have many images and they all need the same settings. You add the files once, set the dimensions once, click once. You get a ZIP back with every resized image inside. The trade-off is that you do not see a live preview for each one — so always run a small test batch first to confirm the format and dimensions are right. Most people use both tools: the single resizer to design and test, then the bulk tool to run the final batch.
Ready to Resize Your Images in Bulk?
You now know what a bulk image resizer is, how it works, who uses it, and what mistakes to avoid. The next step is to try it yourself. Open the tool above, drop your images onto the upload zone, pick your settings, and click Process & ZIP. In a few seconds you will have a single ZIP file with every resized image inside. It is free, private, and runs fully inside your browser.