A Bad Print Can Ruin a Great QR Code
You spent time designing the ideal QR code. You picked the right colors, the right size, the right error correction level. Then you printed it — and it would not scan. What went wrong?
The problem is not your design. The problem is how the QR code was printed. Printing QR codes is not like printing a photo. QR codes have tiny black and white squares that scanners need to read precisely. If the printer blurs those squares, adds unwanted colors, or changes the size — the code breaks. This guide will show you how to print QR codes that scan every single time.
This guide walks you through everything you need to know about printing QR codes correctly: file formats, DPI, color choices, error correction, materials, testing, and working with print shops. Follow these rules and your printed QR codes will work the first time, every time.
Table of Contents
- Why Printing QR Codes Is Different From Printing Images
- Step 1: Start With the Right QR Code
- Step 2: Choose the Right File Format
- Step 3: Pick the Right Resolution (DPI)
- Step 4: Use the Right Colors and Contrast
- Step 5: Choose the Right Error Correction Level
- Step 6: Pick the Right Material
- Step 7: Size It Correctly for the Print
- Step 8: Keep the Quiet Zone
- Step 9: Test Before You Print a Batch
- Step 10: Work With Print Shops the Right Way
- Common Print Problems and How to Avoid Them
- Print Quality Checklist
Why Printing QR Codes Is Different From Printing Images
A photo can look slightly blurry and still be an ideally good photo. A logo can have soft edges and still look fine. But a QR code is a precision pattern. Each tiny square (module) must be clearly dark or clearly light, with sharp edges. If the printer blurs the edges, mixes the colors, or shifts the position of the dots, scanners cannot read the code.
This means QR codes need to be printed at higher quality than typical graphics. The rules are stricter, the formats matter more, and the testing is non-negotiable.
Step 1: Start With the Right QR Code
Print quality starts before you ever send a file to the printer. It starts with the QR code itself. A bad QR code cannot be saved by a good printer. Here is what to check:
- Use a short URL or small data. Less data = fewer modules = bigger dots = easier to print clearly.
- Use the right error correction level. Level M for indoor prints, Q for handled items, H for outdoor or logo-embedded codes.
- Use black or dark dots on white or very light background. Save creative colors for non-critical use.
- Generate with a reliable tool. Use QREndlessPro's free QR code generator to create clean, scannable codes.
For branded QR codes with logos or custom colors, use the QR code customizer. It enforces the rules that keep QR codes scannable while you design.
Step 2: Choose the Right File Format
The file format you send to the printer matters more than almost anything else. Here is how to choose:
| Format | Type | Best For | Notes |
|---|---|---|---|
| SVG | Vector | Any print job | Scales to any size with no quality loss. Best choice for most prints. |
| Vector | Print shops, multi-page documents | Press-quality PDF is the industry standard. | |
| EPS | Vector | Commercial printing, sign shops | Older format but still widely used by professional printers. |
| PNG | Raster | Small prints at high resolution | Only if you cannot use vector. Must be at least 300 DPI at the printed size. |
| JPG | Raster | Avoid for QR codes | JPG compression can blur edges. Do not use for QR codes. |
With QREndlessPro you can export your QR code as SVG, PDF, EPS, or PNG up to 4K resolution. For any print job, choose SVG, PDF, or EPS.
Step 3: Pick the Right Resolution (DPI)
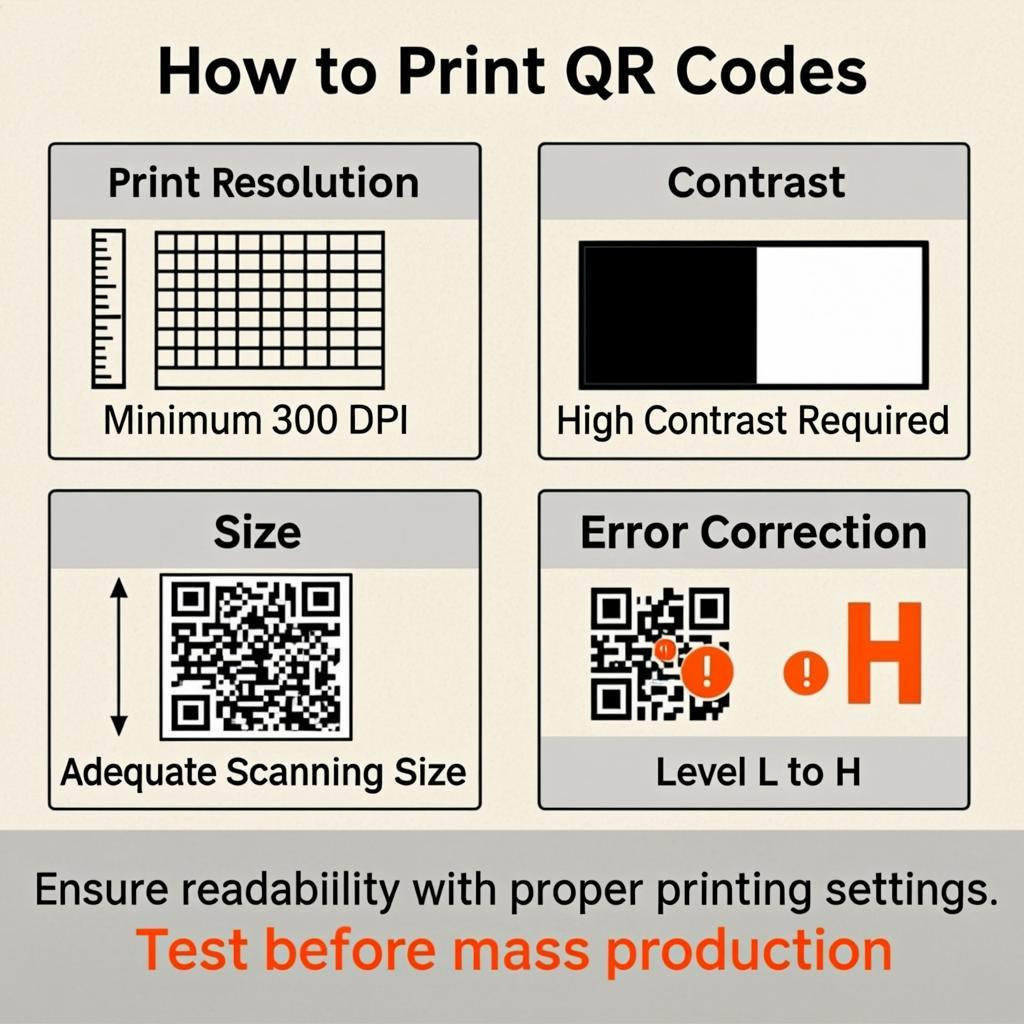
DPI means dots per inch — how many ink dots the printer lays down per inch. Higher DPI means sharper print. For QR codes, the minimum is 300 DPI. Below that, the dot edges blur and scanning fails.
If you are using a raster format (PNG), the file needs enough pixels for the printed size at 300 DPI:
- 1-inch (2.54 cm) QR code: at least 300 × 300 pixels
- 2-inch (5 cm) QR code: at least 600 × 600 pixels
- 4-inch (10 cm) QR code: at least 1200 × 1200 pixels
- 8-inch (20 cm) QR code: at least 2400 × 2400 pixels
If you are using a vector format (SVG, PDF, EPS), DPI does not apply — the file describes paths, not pixels, so it prints sharp at any size. This is why vector is the best choice for print.
Step 4: Use the Right Colors and Contrast
Color is where most print jobs go wrong. Colors that look fine on a bright screen often print too light or too dark. Here are the rules:
- Use dark dots on a light background. Black on white is the safest choice.
- Keep contrast at 4:1 or higher. The dots must be clearly darker than the background.
- Avoid red on white. Many phone cameras filter out red, making red QR codes invisible.
- Avoid light colors on white. Yellow, light gray, and pastel dots are hard to scan.
- Avoid inverted colors (white on black). Some scanners handle this, but many do not.
- Avoid gradients for the dots. Gradients can drop below the contrast threshold in some areas.
If you want a branded color, choose a deep, saturated color like navy blue, forest green, or dark purple. Use the QR code customizer to set custom colors while keeping the QR code scannable.
Step 5: Choose the Right Error Correction Level
Error correction is the QR code's ability to recover from damage. The level you choose depends on the print situation:
| Level | Recovery | Best For |
|---|---|---|
| L | 7% | Digital display, screen-only |
| M | 15% | Business cards, flyers, indoor prints |
| Q | 25% | Event badges, table tents, product labels |
| H | 30% | Outdoor signs, packaging, codes with logos |
For anything that will be printed, use Level M or higher. For outdoor or harsh environments, use Level H. For QR codes with a logo embedded in the center, always use Level H — the logo covers part of the data, and you need maximum recovery.
Read our QR code error correction guide for more detail on each level.
Step 6: Pick the Right Material
The material you print on affects scanning as much as the ink. Here is how to choose:
- Matte paper: Best for most prints. No glare, easy to scan.
- Glossy paper: Looks shiny but causes glare. Avoid for QR codes that will be scanned under bright lights.
- Card stock: Good for business cards and event badges. Stiff and durable.
- Vinyl: Best for outdoor signs. Waterproof and UV-resistant.
- Polyester / plastic labels: Best for product packaging and warehouse labels. Tear-resistant and water-resistant.
- Direct thermal paper: Avoid for QR codes — the print fades over time and the codes stop working.
For outdoor use, always use a weather-resistant material like vinyl or polyester. For indoor use, matte card stock or matte paper works well.
Step 7: Size It Correctly for the Print
Size and print quality work together. A small QR code needs higher print quality to keep the dots sharp. A large QR code can be printed at lower DPI and still work.
Here are the minimum print sizes for common use cases:
- Business card: 2.5–3 cm × 2.5–3 cm
- Flyer: 4–5 cm × 4–5 cm
- Poster: 10–20 cm × 10–20 cm
- Billboard: 50 cm and up, depending on scanning distance
The simple formula: QR code width (cm) = scanning distance (cm) ÷ 10. Read our full QR code size guide for more.
Step 8: Keep the Quiet Zone
The quiet zone is the empty white border around the QR code. It must be at least 4 modules wide on every side. Without it, scanners cannot find the QR code.
In practice, leave about 10% of the QR code width as empty white space on each side. For a 3 cm QR code, that means 3 mm of white space on top, bottom, left, and right — a total printed area of about 3.6 × 3.6 cm.
Common mistake: designers crop the QR code tight to "save space" and remove the quiet zone. The QR code stops scanning. Always keep the quiet zone. If your existing QR code has been cropped, the QR code enhancer can rebuild the quiet zone automatically.
Step 9: Test Before You Print a Batch
Never print 5,000 business cards or product labels without testing first. A small test print can save you thousands of dollars and days of delay. Here is how to test:
- Print one copy at the actual size on the actual material.
- Try scanning with three different phones — a new iPhone, an Android, and an older phone if possible.
- Test from the expected scanning distance — not closer, not farther.
- Test under realistic lighting — office light, store light, or outdoor light, depending on where the QR code will live.
- If all three phones scan reliably, the print is good. If any phone fails, fix the issue before printing the full batch.
Use QREndlessPro's free QR code scanner for testing — it works on any device with a camera, in any browser.
Step 10: Work With Print Shops the Right Way
If you are using a professional print shop, communication matters. Here is how to get good results:
- Send vector files. SVG, PDF, or EPS. Do not send JPG or small PNG.
- Tell them the exact printed size. "I want the QR code to be 3 cm × 3 cm on the final card."
- Ask for a proof. A proof is a single test print. Always request one before the full batch.
- Test the proof yourself with multiple phones before approving the full run.
- Avoid CMYK color shifts. QR codes generated in RGB may look slightly different when printed in CMYK. Use pure black for the dots to avoid shifts.
- Ask about the material. If they suggest glossy, ask for matte instead — easier to scan.
A good print shop will work with you to make sure the QR code scans. If they push back on vector files or refuse to provide a proof, find another shop.
Common Print Problems and How to Avoid Them
Blurry Edges
Cause: Low DPI or raster file enlarged too much. Fix: Use a vector format (SVG, PDF, EPS) or a PNG at 300+ DPI at the printed size.
Bleeding Ink
Cause: Ink spreads on paper, especially on uncoated stock. Fix: Use coated paper, or generate the QR code at a slightly larger size so bleeding does not merge adjacent dots.
Faded Colors
Cause: Low ink coverage or light colors chosen by mistake. Fix: Use pure black for the dots, not gray or any color that contains white.
Color Shifts (CMYK)
Cause: RGB colors look different when printed in CMYK. Fix: Use pure black (K=fully) for the dots and pure white (no ink) for the background.
Glare
Cause: Glossy paper or lamination reflects light. Fix: Use matte paper or matte lamination. If glossy is required, place the QR code away from direct light sources.
Missing Quiet Zone
Cause: Designer cropped the QR code too tight. Fix: Regenerate the QR code with the quiet zone included, or use the QR code enhancer to add it back.
Stretched or Non-Square
Cause: Designer changed the aspect ratio. Fix: Always resize proportionally (hold Shift in design tools). Regenerate if already stretched.
Wrong Size
Cause: QR code printed too small for the scanning distance. Fix: Use the size formula (distance ÷ 10) and reprint at the correct size.
Damage From Weather or Handling
Cause: Low error correction level for outdoor or handled items. Fix: Use Level Q or H, and choose weather-resistant materials like vinyl or polyester.
Print Quality Checklist
Before you send a QR code to print, run through this checklist:
- Short URL or minimal data used
- Error correction level matches use case (M for indoor, Q/H for outdoor or handled)
- Black or dark dots on white or very light background
- Contrast ratio at least 4:1
- No red dots, no gradients, no inverted colors
- Exported as SVG, PDF, or EPS (vector format)
- If raster: PNG at 300+ DPI at the printed size
- Printed size at least 2 × 2 cm (larger for distance scanning)
- Quiet zone of at least 4 modules (about 10% of the QR code width) on every side
- Matte material chosen (avoid glossy for QR codes)
- Weather-resistant material for outdoor use
- Test print scanned successfully on 3 different phones
If you can tick every box, your printed QR code will scan reliably. If any box is unticked, fix that issue before printing the full batch.
What to Do if a Printed QR Code Does Not Scan
If you have already printed the QR code and it does not scan, here is what to do:
- Decode the printed QR code with QREndlessPro's QR decoder. Upload a photo of the printed QR code. If the decoder can read it, the QR code itself is fine — the issue is with the user's phone or scanning conditions.
- If the decoder cannot read it, the print quality is too low. You will need to reprint with better settings.
- Try the original digital file. If the digital QR code scans but the printed one does not, the print quality is the problem.
- Fix the root cause (size, contrast, format, material) and reprint a small test before doing the full batch.
If you need to enhance a low-quality printed QR code image (for example, a photo of an old sign), the QR code enhancer can clean up blurriness, force black-and-white contrast, and rebuild the quiet zone — up to 4K resolution.
Printing QR Codes in Bulk
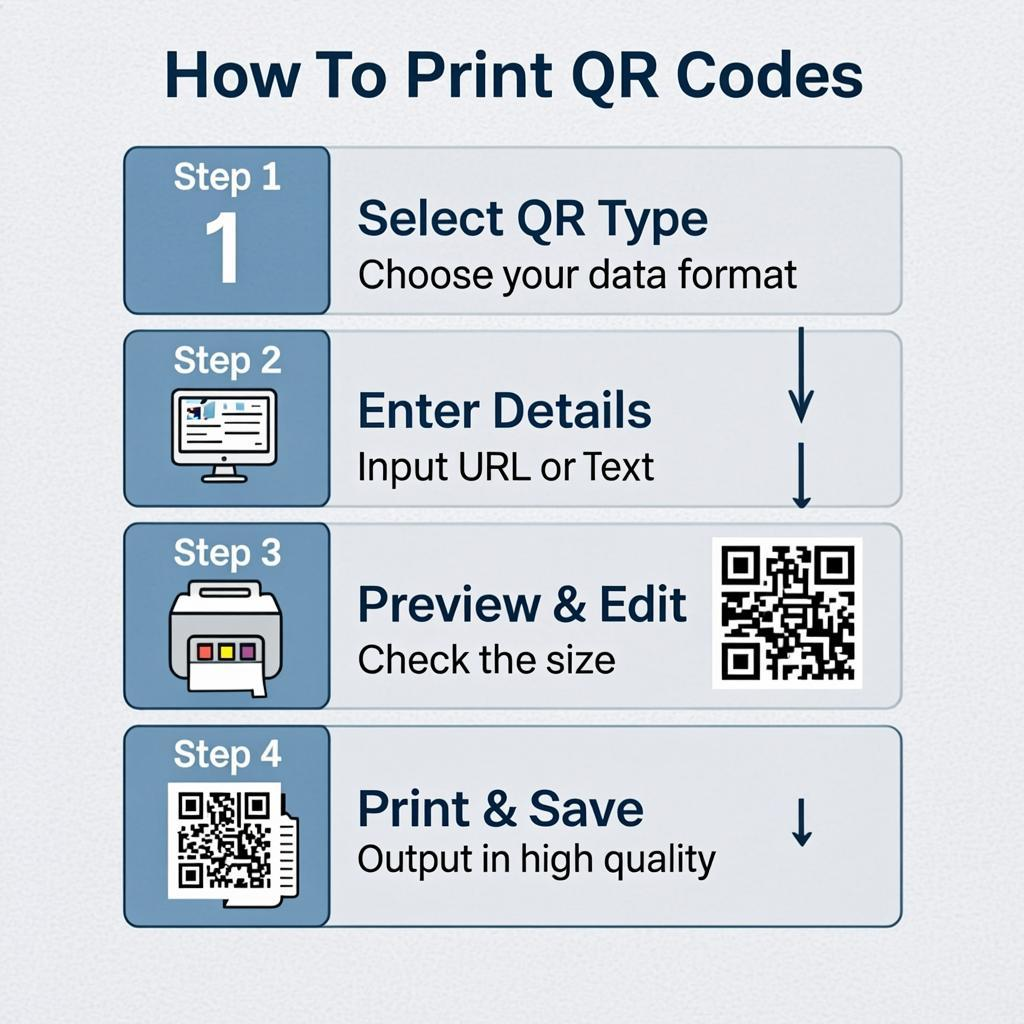
For bulk printing — event tickets, product labels, inventory tags, loyalty cards — you need to generate many unique QR codes at once. Use the bulk QR code generator to create up to 5,000 QR codes in a single batch. You can:
- Import data from a CSV file
- Use sequential numbering for serial codes
- Download all codes as a ZIP of images
- Export as grid PDFs for label printing (2×2, 3×3, 4×4, 6×6 layouts)
- Choose from 7 download formats including SVG, PDF, and EPS
For label sheets, use the grid PDF export to print directly onto standard label paper. Test one sheet before running the full batch.
Frequently Asked Questions
What is the best file format for printing QR codes?
Vector formats — SVG, PDF, or EPS. These scale to any size with no quality loss and produce sharp, scannable QR codes at any print size. QREndlessPro offers all three for free, plus PNG up to 4K for digital use.
What DPI should a QR code be printed at?
At least 300 DPI. Below that, the dot edges blur and scanning becomes unreliable. If you are using a vector format (SVG, PDF, EPS), DPI does not apply — the file prints sharp at any size.
Can I print a QR code in color?
Yes, but use dark colors (navy, forest green, dark purple) on a white or very light background. Avoid red, yellow, light gray, and pastels. Keep contrast at 4:1 or higher. Always test the printed color with multiple phones before printing a batch.
What material is best for printing QR codes?
For indoor prints, matte card stock or matte paper. For outdoor signs, vinyl (waterproof, UV-resistant). For product labels, polyester or plastic (tear-resistant, water-resistant). Avoid glossy paper (causes glare) and direct thermal paper (fades over time).
Can I print a QR code on glossy paper?
You can, but glare can make scanning difficult. If you must use glossy paper, place the QR code away from direct light sources, or use matte lamination instead. Matte is always safer for QR codes.
Why does my QR code work on screen but not when printed?
Usually a print quality issue. Causes include: low DPI, JPG compression, missing quiet zone, low contrast colors that look fine on a bright screen but print too light, glossy paper causing glare, or a stretched aspect ratio. Always test a printed copy before printing a full batch.
What error correction level should I use for printed QR codes?
Level M (15%) for indoor prints like business cards and flyers. Level Q (25%) for handled items like event badges and product labels. Level H (30%) for outdoor signs, packaging, and QR codes with logos embedded in the center.
How do I print multiple QR codes at once?
Use the bulk QR code generator to create up to 5,000 QR codes in one batch. Import data from a CSV file, choose your format (SVG, PDF, EPS, PNG), and download as a ZIP or grid PDF for label printing.
How small can I print a QR code?
The minimum for reliable scanning is 2 × 2 cm. Below that, scanning becomes unreliable. For distance scanning (posters, billboards), use the formula: size (cm) = scanning distance (cm) ÷ 10.
How do I fix a blurry printed QR code?
You cannot really fix a blurry print — you need to reprint with better settings. Use a vector format (SVG, PDF, EPS) or a PNG at 300+ DPI at the printed size. If the original digital QR code is also blurry, regenerate it with QREndlessPro's generator and export in a vector format.
Should I laminate QR codes?
Lamination protects the QR code from water and wear, which is good. But use matte lamination, not glossy — glossy lamination causes glare that makes scanning difficult. For outdoor QR codes, matte lamination or UV-resistant vinyl is the best choice.