A QR Code With Your Logo Looks Great — Until It Stops Scanning
Think about the last time you saw a plain black-and-white QR code. Did you scan it without hesitation? Or did you pause and wonder where it would take you? Most people hesitate — and many do not scan at all.
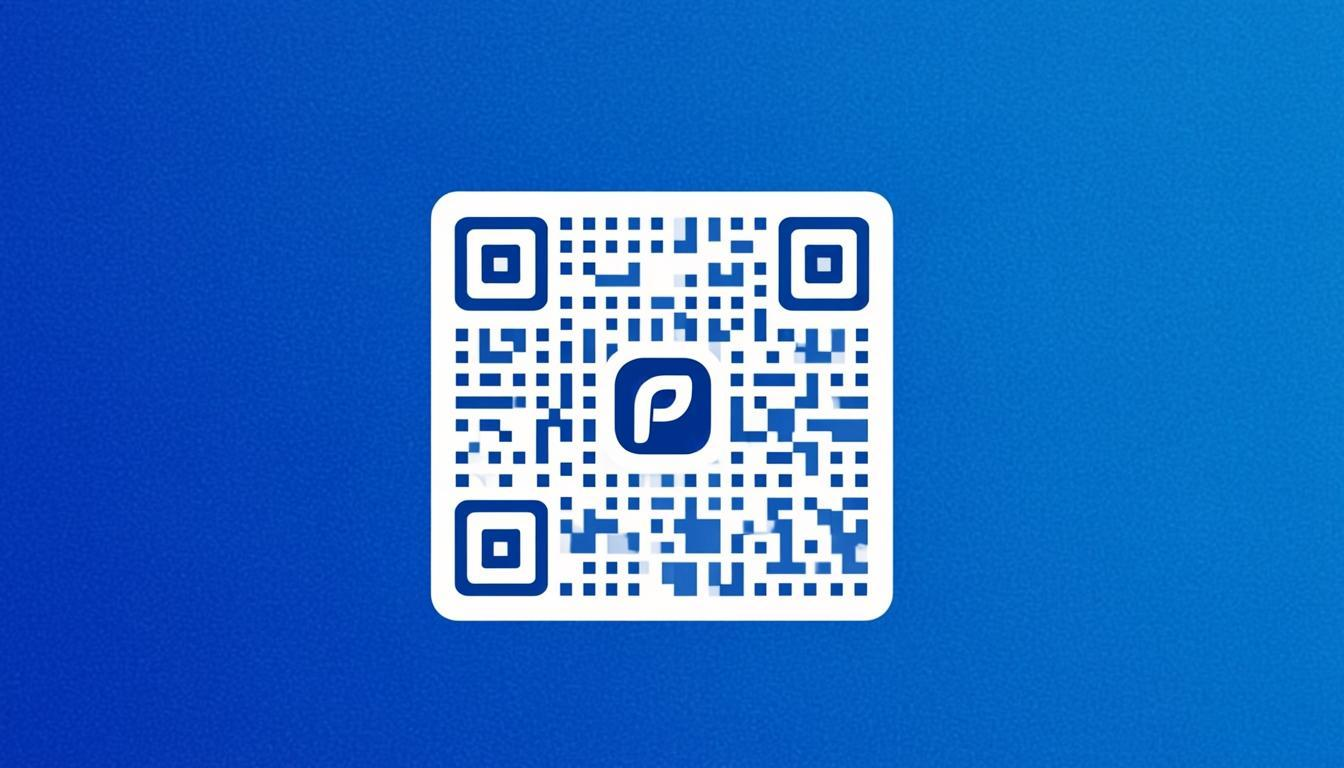
Now imagine a QR code with your company logo in the center, your brand colors in the dots, and a clean frame around it. People recognize your brand instantly. They trust it. They scan it. That is the power of a branded QR code. In this guide, you will learn how to add a logo to your QR code without breaking it — and why this simple change can double your scan rates.
The good news: with the right settings, you can put a logo on a QR code and keep it fully scannable. The trick is to understand how QR code error correction works, how to size the logo, and where to place it. This guide walks you through every step in plain English.
Table of Contents
- Why Logos Can Break QR Codes
- The Secret: Error Correction Level H
- Step 1: Start With a High-Quality Logo
- Step 2: Generate the QR Code With Level H
- Step 3: Add the Logo in the Right Place
- Step 4: Size the Logo Correctly
- Step 5: Keep the Quiet Zone
- Step 6: Test on Multiple Devices
- The 25% Rule: How Big Can the Logo Be?
- Logo File Formats: What Works Best
- Logo Backgrounds: Solid, Transparent, or Shaped
- Common Mistakes That Break Logo QR Codes
- Logo QR Codes by Use Case
Why Logos Can Break QR Codes
A QR code is a grid of black and white squares called modules. Each module carries data — your URL, text, or other information. When you place a logo on top of the QR code, you cover some of those modules. The scanner sees those covered modules as "damaged" — it cannot read what was there.
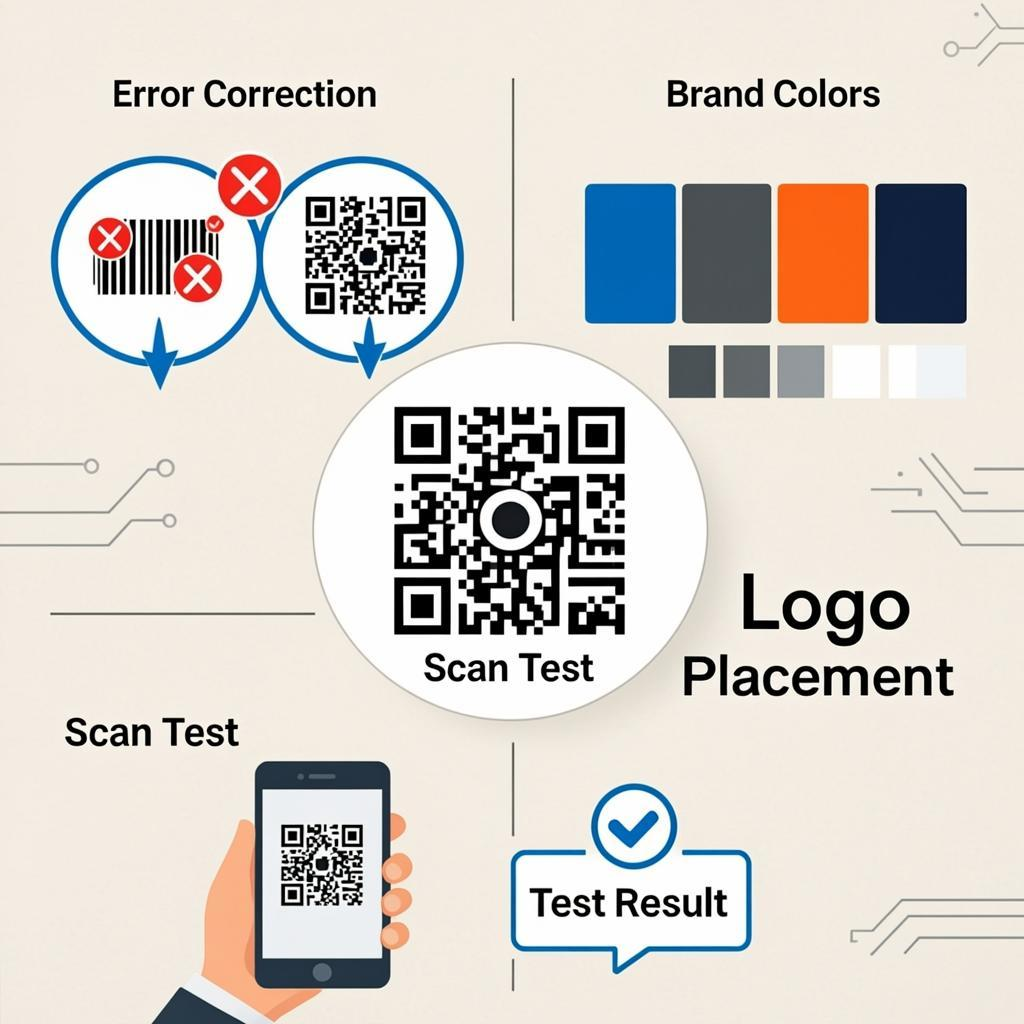
QR codes have a built-in safety net called error correction. This lets the scanner reconstruct missing data even when part of the QR code is damaged or covered. The amount of recovery depends on the error correction level you choose.
If you use a low error correction level (like L) and add a logo, the logo covers more data than the code can recover. The QR code stops scanning. If you use a high level (like H), the code can recover up to 30% of damage — enough to handle a properly sized logo.
The Secret: Error Correction Level H
If you remember only one thing from this guide, remember this: always use Level H error correction (30% recovery) when adding a logo to a QR code.
Level H allows the QR code to recover up to 30% of damaged or covered modules. A properly sized logo (more on this below) covers about 15–25% of the QR code area, well within Level H's recovery capacity. With Level H, the logo is safely absorbed by the error correction.
Other error correction levels:
- Level L (7%): Not enough recovery for a logo. Do not use.
- Level M (15%): Borderline. A tiny logo might work, but it is risky.
- Level Q (25%): Works for small logos, but Level H is safer.
- Level H (30%): The right choice for any QR code with a logo.
When you generate a QR code with the QR Code Customizer and add a logo, the tool applies Level H error correction automatically — so you do not have to think about it.
Step 1: Start With a High-Quality Logo
Before you generate anything, you need a good logo file. The quality of your logo directly affects how the final QR code looks.
What you need:
- Vector format (SVG, EPS, or PDF): Best choice. Scales ideally, no pixelation.
- High-resolution PNG (at least 500 × 500 pixels): Works if vector is not available.
- Transparent background: Essential. A white box around the logo looks bad on a colored QR code.
- Simple design: Logos with clear shapes and few colors work best. Detailed logos with tiny text or thin lines become unreadable at small sizes.
What to avoid:
- JPG files: JPGs do not support transparency. They will leave a white box around your logo.
- Low-resolution images: Anything under 300 × 300 pixels will look pixelated on the final QR code.
- Logos with very thin lines or tiny text: These disappear when the logo is sized for a QR code.
- Photographs as "logos": Photos do not work as QR code logos — they are too detailed and reduce scannability.
Step 2: Generate the QR Code With Level H
Now you are ready to create the QR code itself.
- Open QREndlessPro's free QR code generator.
- Choose your data type (URL is the most common).
- Enter your URL or other data.
- Set error correction to Level H. This is the critical step.
- Generate the QR code.
- Download it. SVG is best for the next step, but PNG also works.
Pro tip: Use the shortest URL possible. Long URLs make the QR code denser, which means smaller modules and less room for error correction. A short URL means bigger modules and a cleaner final result.
Step 3: Add the Logo in the Right Place
The logo must go in the center of the QR code — not in a corner, not on the side, not over the finder patterns.
Why the center? The QR code has three large squares in the corners called finder patterns. These are how the scanner detects the QR code and figures out its position. If the logo covers any finder pattern, the scanner cannot find the QR code at all, and no amount of error correction will help.
The center of the QR code contains only data and error correction modules — no critical structural patterns. This is the safest place for a logo because the error correction can rebuild the covered data.
Do not place the logo:
- Over any of the three corner squares (finder patterns)
- Over the alignment pattern (the smaller square near the bottom right)
- Over the timing patterns (the dotted lines connecting the finder patterns)
When you use the QR Code Customizer, the logo is automatically centered for you, so you do not have to worry about placement.
Step 4: Size the Logo Correctly
This is where most logo QR codes fail. The logo is too big and covers more than the error correction can handle.
The 25% rule: The logo should cover no more than 25% of the QR code's total area. This is well within Level H's 30% recovery capacity, leaving a small safety margin.
What does 25% look like in practice? If your QR code is a square, the logo should be no more than about half the width of the QR code. For example:
- QR code 4 cm wide: Logo should be no wider than 2 cm.
- QR code 5 cm wide: Logo should be no wider than 2.5 cm.
- QR code 10 cm wide: Logo should be no wider than 5 cm.
A common mistake is making the logo too big. People want their logo to be prominent, so they size it up — and break the QR code. Smaller is safer. A logo at 15–20% of the QR code area is plenty visible and leaves lots of error correction headroom.
Step 5: Keep the Quiet Zone
The quiet zone is the empty white border around the QR code. It must be at least 4 modules wide. When you add a logo, do not forget the quiet zone — it is still required for scanners to find the QR code.
In practice, leave about 10% of the QR code width as empty white space on every side. For a 4 cm QR code, that means 4 mm of white space on top, bottom, left, and right.
Inside the QR code, leave a small white margin around the logo too. This separates the logo from the data modules and makes the QR code look cleaner. The Customizer handles this automatically.
Step 6: Test on Multiple Devices
Logo QR codes are riskier than plain QR codes. Always test before printing a batch.
- Scan the digital QR code on your computer screen with at least three different phones.
- Print a test copy at the actual size.
- Scan the printed QR code with the same phones.
- Test from different angles and distances.
- If any phone struggles to scan, make the logo smaller and test again.
Use QREndlessPro's free scanner for testing — it works on any device with a camera, in any browser. If the QR code does not scan, use the QR decoder to check if the underlying data is still intact.
The 25% Rule: How Big Can the Logo Be?
Let us dig deeper into the 25% rule, because it is the most important sizing principle for logo QR codes.
Level H error correction recovers up to 30% of damage. The logo covers some of the QR code, but the covered area counts as "damage" from the scanner's point of view. To stay safely under 30%, the logo should cover no more than 25% of the QR code area.
Here is how to calculate logo size:
- QR code is a square. If the QR code is X wide and X tall, total area is X².
- Logo is also a square (most logos fit in a square area). If the logo is Y wide and Y tall, logo area is Y².
- The rule: Y² should be no more than 25% of X².
- Simplified: Y should be no more than 50% of X. (Because the square root of 0.25 is 0.5.)
So if your QR code is 5 cm wide, your logo should be no wider than 2.5 cm. If your QR code is 10 cm wide, your logo should be no wider than 5 cm.
Safety margin: Aim for 15–20% logo area instead of the full 25%. This gives you a buffer for printing imidealions, slight logo size changes, and varying scanner quality.
Logo File Formats: What Works Best
The format of your logo file affects the final result:
| Format | Transparency | Quality | Best For |
|---|---|---|---|
| SVG (vector) | Yes | Crisp at any size | Best choice for any logo QR code |
| EPS (vector) | Yes | Crisp at any size | Same as SVG, common in print workflows |
| PDF (vector) | Yes | Crisp at any size | Same as SVG, common in print workflows |
| PNG (raster, transparent) | Yes | Good if high-res | Acceptable if SVG not available |
| JPG (raster) | No (always has a background) | Varies | Do not use — leaves white box around logo |
If you only have a JPG logo, you can use a free background removal tool to make it transparent, then save as PNG. Or better, ask your designer for the original SVG or EPS version.
Logo Backgrounds: Solid, Transparent, or Shaped
How the logo sits on the QR code matters. Here are three common approaches:
Transparent Background (Most Common)
The logo sits directly on the QR code with no background. This is the cleanest look but can cause issues if the logo has thin lines that blend with the QR code dots. Best for logos with bold, simple shapes.
Solid White Background Behind the Logo
A small white circle or square sits behind the logo, separating it from the QR code dots. This improves scannability because the logo's edges are clean and do not mix with the data modules. Many branded QR codes use this approach. The Customizer can add a white background shape behind your logo automatically.
Shaped Background (Circle, Square, Rounded Square)
A colored or white shape (circle, square, rounded square, hexagon) sits behind the logo. This looks more designed and can match your brand aesthetic. Just make sure the shape plus logo stay under 25% of the QR code area. The Customizer offers multiple background shapes for logos.
Common Mistakes That Break Logo QR Codes
- Using Level L or M error correction. Not enough recovery. Always use Level H.
- Making the logo too big. Logo covers more than 25% of the QR code area. Keep it under 25%, ideally under 20%.
- Placing the logo over a finder pattern. The three corner squares must stay clear. Always center the logo.
- Using a low-resolution logo. Pixelated logos look bad and reduce scannability at the edges. Use SVG or high-res PNG.
- Using a JPG logo with a white background. The white box covers more area than the logo itself, often pushing you over the 25% limit.
- Using a logo with tiny text or thin lines. These disappear at small sizes. Use a simplified version of your logo.
- Forgetting the quiet zone. The QR code still needs its white border, even with a logo inside.
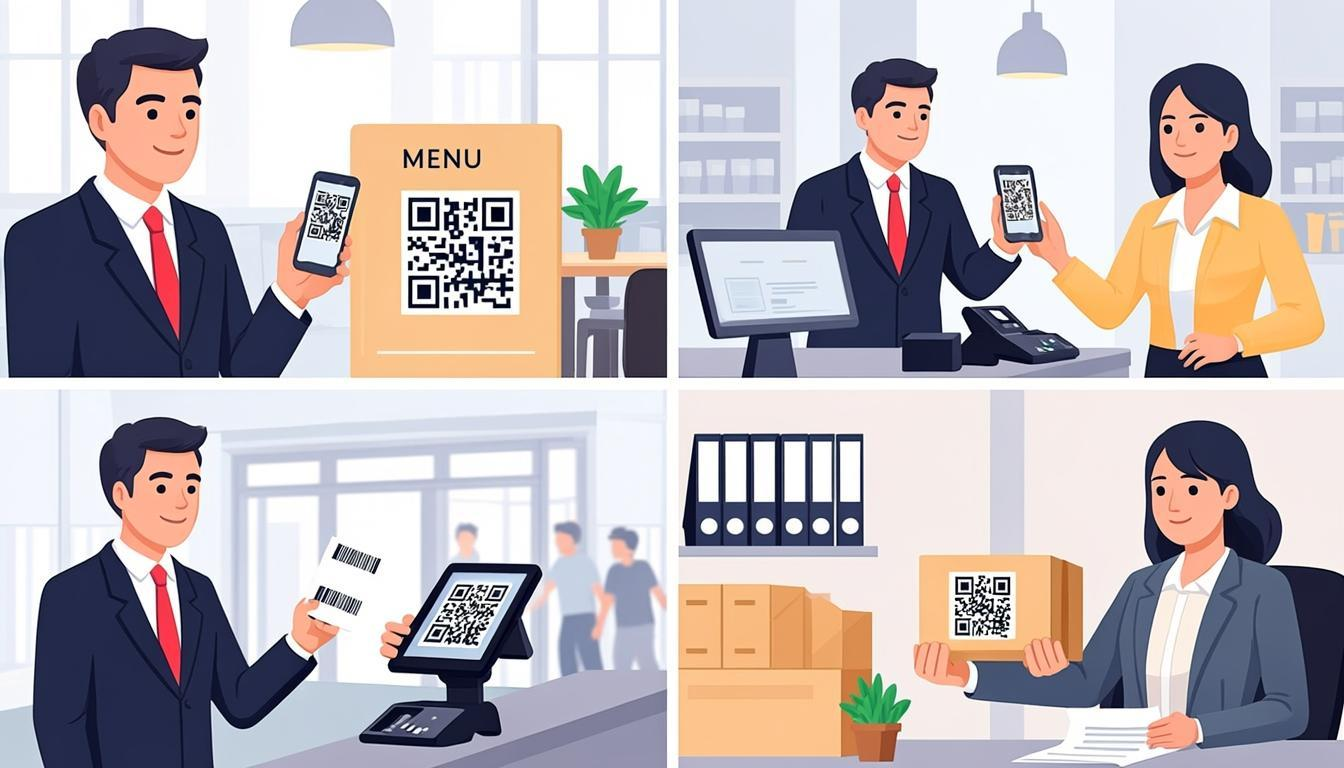
- Using low contrast for the QR code dots. The dots still need to be clearly dark on light. The logo does not change this rule.
- Not testing on multiple phones. Test on at least three devices before printing.
Logo QR Codes by Use Case
Business Cards
Logo QR codes look great on business cards. Use a small, simple version of your logo. Keep the QR code at 2.5–3 cm with the logo at about 1.5 cm. Test before printing a batch.
Restaurant Menus
Put your restaurant logo in the center of the QR code on table tents. Customers see your brand every time they scan. Use Level H and keep the logo under 20% of the QR code area for safety.
Product Packaging
Branded QR codes on packaging build trust and look professional. Use a vector logo, Level H error correction, and test on physical samples before the full production run.
Event Badges
Put the event logo in the QR code on each badge. Use Level H — badges get folded, bent, and sweaty, so you need maximum recovery.
Marketing Materials
For flyers, posters, and direct mail, a branded QR code stands out and gets more scans. Use a frame with a call to action ("Scan to Learn More") to increase scan rates even further.
Digital Use (Websites, Email Signatures)
Logo QR codes work on screens too. Use them in email signatures, social media posts, and digital ads. Since screens are flat and well-lit, you have more flexibility with logo size — but still keep Level H for safety.
How to Make a Logo QR Code in 5 Minutes
Here is the quick version:
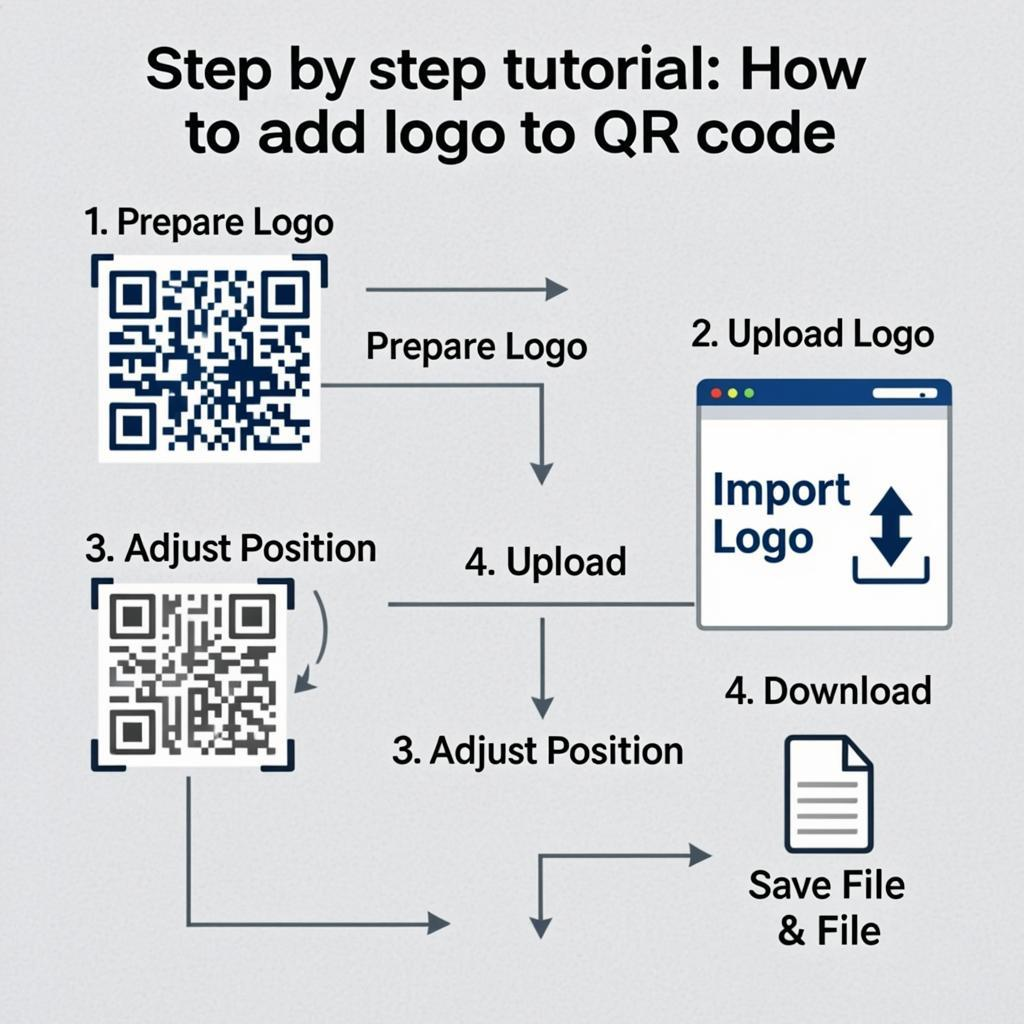
- Get your logo as an SVG or transparent PNG (at least 500 × 500 pixels).
- Open the QR Code Customizer.
- Enter your URL or other data.
- Upload your logo.
- The tool automatically applies Level H error correction and centers the logo.
- Adjust logo size if needed (aim for 15–20% of the QR code area).
- Pick your colors, dot style, and finder style if desired.
- Download as SVG, PDF, or EPS for print, or PNG for digital.
- Test on three phones before printing.
The whole process takes about 5 minutes. The Customizer enforces all the rules that keep the QR code scannable, so you can focus on the design.
How to Fix a Broken Logo QR Code
If your logo QR code does not scan, here is how to fix it:
- Check the error correction level. If it is not Level H, regenerate with Level H.
- Make the logo smaller. Aim for 15% of the QR code area instead of 25%.
- Check the logo placement. Make sure it is centered and not over any finder pattern.
- Add a white background behind the logo. This separates it from the data modules.
- Check the QR code contrast. The dots still need to be dark on light.
- Test with the QR decoder. Upload an image of your logo QR code and see if the decoder can read it.
- Use the QR enhancer if the QR code is blurry, low-contrast, or missing a quiet zone.
In most cases, switching to Level H and shrinking the logo to 15% of the QR code area fixes the problem.
Frequently Asked Questions
Can I add a logo to a QR code without losing scannability?
Yes. Use Level H error correction (30% recovery), keep the logo under 25% of the QR code area, center it, and use a high-quality logo file. Test on multiple phones before printing. With these rules, your logo QR code will scan reliably.
What error correction level should I use for a logo QR code?
Always use Level H (30% recovery). Level H allows the QR code to recover from the modules covered by the logo. Lower levels (L, M, Q) do not provide enough recovery for a logo. The Customizer applies Level H automatically when you add a logo.
How big can the logo be on a QR code?
The logo should cover no more than 25% of the QR code's total area. For a square logo on a square QR code, this means the logo should be no wider than about 50% of the QR code width. For safety, aim for 15–20% logo area.
Where should the logo go on a QR code?
Center of the QR code. Never place the logo over the three corner squares (finder patterns) or the alignment pattern (smaller square near the bottom right). The center contains only data and error correction modules, which Level H can rebuild.
What file format should my logo be?
SVG, EPS, or PDF (vector formats) are best — they scale cleanly with no quality loss. Transparent PNG (at least 500 × 500 pixels) also works. Avoid JPG — it does not support transparency and leaves a white box around the logo.
Why does my logo QR code not scan?
Common causes: error correction level is too low (use Level H), logo is too big (keep under 25% of QR code area), logo is placed over a finder pattern (always center it), logo file is low quality, or the QR code contrast is too low. Test with the QR decoder to see if the data is intact.
Can I use any color for the logo?
Yes — the logo can be any color, since it sits on top of the QR code. But the QR code dots themselves still need to be dark on light for scannability. Use the Customizer to set dot colors separately from the logo.
Do I need a transparent logo background?
Transparent background looks cleanest. But you can also use a solid white or colored shape behind the logo — this can actually improve scannability by separating the logo from the data modules. The Customizer offers multiple background shapes for logos.
Can I add text along with the logo?
Yes, but keep it simple. Long text on a QR code becomes unreadable at small sizes. Use a short brand name or tagline. Better yet, put the text in a frame around the QR code using the Customizer's frame templates, instead of inside the QR code itself.
How do I test if my logo QR code is scannable?
Scan it with at least three different phones — a new iPhone, an Android, and an older phone if possible. Print a test copy at the actual size and scan from the expected distance. If all three phones scan reliably, your logo QR code is ready. You can also use the QR decoder to verify the encoded data is intact.