Table of Contents
- The Problem: A Barcode That Will Not Scan Costs Real Money
- Why Barcodes Become Blurry, Broken, and Unscannable
- Why Screenshots, AI Upscalers, and Photoshop Do Not Work
- The Solution: Decode the Data, Regenerate the Barcode Clean
- All 14 Symbologies the Enhancer Supports
- The Four Enhancement Modes: Sharpen, Upscale, Repair, and All
- Error Correction L, M, Q, H — What 7%, 15%, 25%, and 30% Really Mean
- Resolution Presets: 256px to 4K and What They Print At
- Quiet Zones and Black-and-White Contrast Forcing
- Bulk Enhancement: Fix Up to 500 Barcodes in One Batch
- Export Formats: PNG, JPG, WebP, Transparent PNG, SVG, PDF, EPS
- How to Fix a Blurry Barcode in Under a Minute
- Real-World Examples
- Who Uses a Barcode Enhancer?
- Barcode Enhancer vs. Reprinting, Re-Typing, and AI Upscalers
- Tips for a 100% First-Scan Rate
- FAQ
- Ready to Fix Your Barcodes?
The Problem: A Barcode That Will Not Scan Costs Real Money
A barcode is a promise between you and every scanner that will ever read it. When the promise holds, a checkout beeps in half a second, a warehouse picker moves on, a pharmacy confirms the right medicine. When the promise breaks, everything behind that beep stalls — and the cost is always real.
Here is what a broken barcode looks like in the wild:
- At the retail counter: the cashier scans a product three times, gets nothing, and keys in a manual price check. The queue behind the customer grows. One failed scan costs seconds; a hundred failed scans cost an hour of every day.
- In the warehouse: a shipping label printed last month has faded. The scanner beeps three times and gives up. A worker types the code by hand, mistypes one character, and the wrong pallet leaves the dock.
- At the retailer's distribution center: a major retailer receives freight with a GS1-128 label that will not scan. Some chains charge a compliance fee per bad label or refuse the shipment outright. The barcode you printed for two cents just cost you hundreds.
- At the event gate: attendees hold up PDF417 tickets and QR codes saved as screenshots. The gate scanner chokes on a scratched screen protector and a cropped white border. The line backs up exactly when it matters most.
- On the production line: a Data Matrix code on a serialized medicine carton scans on some readers and fails on others. The compliance audit is in two weeks.
Notice the common thread in every one of these situations. The barcode data itself is fine. The number, the URL, the serial — nothing is wrong with the information. What is broken is the image: a screenshot, a compressed PDF export, a phone photo taken at an angle, a marketplace listing image saved at 150 pixels wide. The data survived; the picture did not.
That is the exact problem a barcode enhancer solves: you do not have the original artwork, but you do have the image — and the image still contains everything you need.
Why Barcodes Become Blurry, Broken, and Unscannable
Before the fix, understand the failure. Barcodes stop scanning for eight predictable reasons:
- Low-resolution source images: the barcode was saved at 150–300 pixels wide. Each bar is one or two pixels. A scanner that expects clean black and white edges sees mush.
- JPEG compression: every JPEG save adds artifacts around the bar edges. Gray halo pixels appear where the symbol demands a hard black-to-white transition.
- Blur from photos: motion blur, out-of-focus shots, and camera shake smear the bar edges. A photo of a label on a box is the most common source of all.
- Cropped quiet zones: the empty white margin around a barcode is not decoration — it is part of the symbol. Screenshots and tight crops cut it away. Per ISO rules, a 1D barcode needs a quiet zone of at least 10 module widths on the left and right; a 2D code needs at least 4 module widths on every side.
- Gray or colored bars: anti-aliasing, designer color choices, and faded ink all lower contrast. Barcode scanners read binary patterns — black or white. Anything between the two is noise they have to guess about.
- Logos, frames, and text over the bars: someone placed a logo inside the symbol or boxed it in a frame. The scanner locks onto the decoration instead of the data.
- Print degradation: worn thermal printheads, low toner, ink bleed on absorbent stock, and glossy surfaces that reflect scanner light all degrade a barcode that was perfect when it left the printer.
- Wrong size for the scan distance: a symbol sized for a checkout scanner gets used on a warehouse rack two meters away. The bars are technically clean — and still unreadable.
Every one of these failures is about the picture, not the data. That distinction is what makes the problem fixable.
Why Screenshots, AI Upscalers, and Photoshop Do Not Work
When a barcode will not scan, most people reach for the wrong tool first. Here is why the obvious fixes fail:
- Printing the screenshot bigger enlarges the blur along with the barcode. A blurry 200-pixel image printed at A4 size is just a large blurry barcode.
- AI image upscalers are built for photographs — they invent plausible detail between pixels. On a barcode, "plausible" is poison. The upscaler redraws bar edges with soft gradients and rounded corners, and the result looks crisp to your eye while failing every scanner. A barcode is a binary symbol; it needs hard edges, not pretty ones.
- Photoshop sharpening amplifies the JPEG noise around each bar and adds halos. You get crunchy pixels that scan even worse than the original blur.
- Re-typing the number into a barcode generator works only when the digits are short and visible — and one mistyped digit silently produces a valid-looking barcode with the wrong data. Retail symbologies end in a MOD 10 check digit; a wrong digit either breaks the check or, worse, points at a different product. You can double-check any GTIN with our free check digit calculator, but hand-typing long GS1-128 strings with application identifiers is slow and risky at any scale.
- Asking the supplier for original artwork is right when it is possible. Sometimes it takes days; sometimes the supplier is gone, the artwork is lost, and the image in your PDF is genuinely all that exists.
Every failed fix shares one assumption: that the solution is to improve the pixels. The real solution is to stop treating the barcode as pixels at all.
The Solution: Decode the Data, Regenerate the Barcode Clean
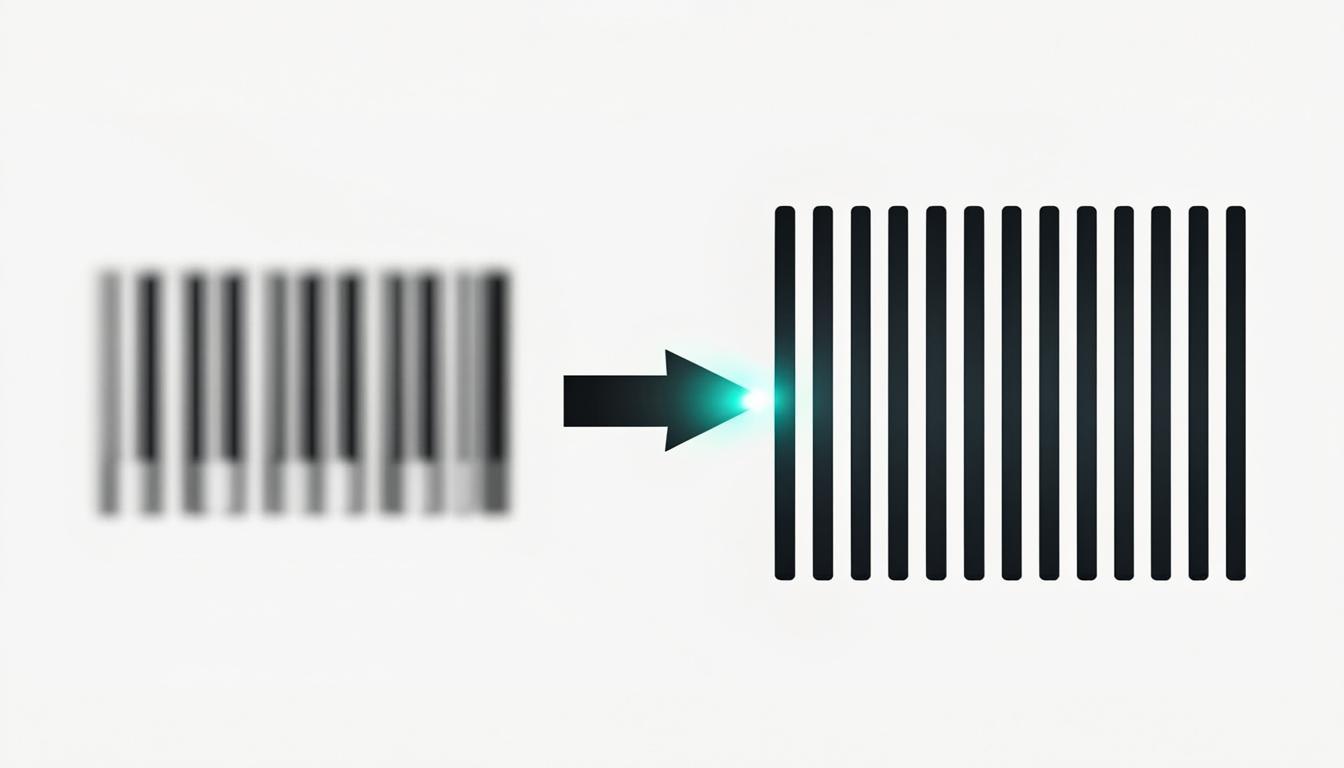
The free Barcode Enhancer at QREndless takes a different approach. It does not sharpen your blurry barcode. It reads the data out of the blurry barcode and rebuilds a brand-new symbol from that data — perfect geometry, hard edges, correct quiet zones, at any resolution you choose.
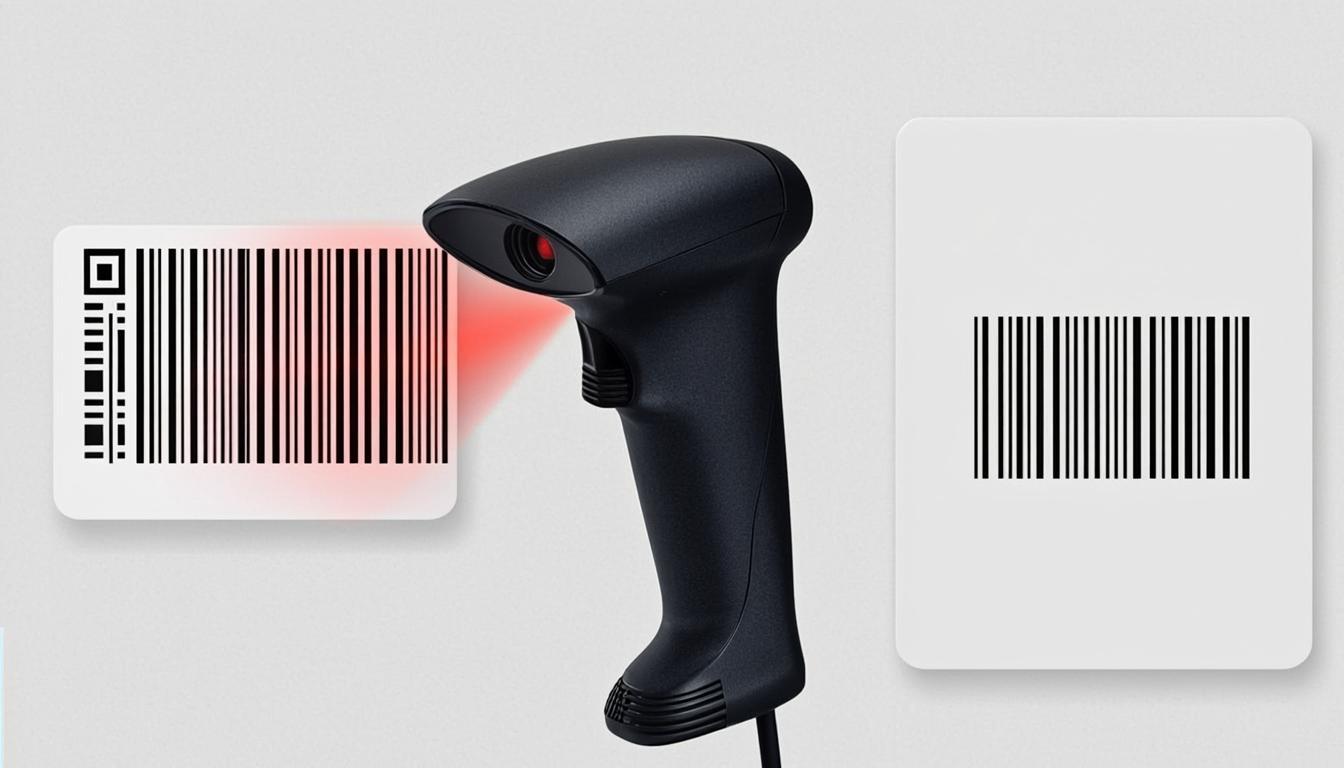
The pipeline runs in three steps:
- Decode: the engine reads your image with multi-symbology detection and several rescue passes — a padded quiet-zone retry for images cropped too tight, and a sharpened retry for blurry photos. Even badly degraded images give up their data.
- Regenerate: the decoded payload is passed to a professional barcode renderer that draws a brand-new symbol from scratch — exact bar widths, exact ratios, a fresh quiet zone, and human-readable text where the symbology defines it. Because the output is generated from the decoded data (not from the blurry pixels), it is clean by construction, and check digits are recomputed according to each symbology's rules.
- Post-process: black-and-white contrast forcing strips every gray pixel, every JPEG artifact, and every trace of anti-aliasing. Quiet zone injection adds the white margin scanners require. What lands in your download folder is a barcode that looks like it came straight from professional labeling software.
A useful side effect of regeneration: logos, frames, background graphics, and stray text disappear automatically. The output contains the symbol and nothing else, which is exactly what scanners want.
And the whole pipeline runs 100% in your browser. Your barcode images never touch a server — nothing is uploaded, stored, or logged. The tool keeps working even if you go offline after loading it. For anyone handling product codes, patient data, or ticket information, that privacy model is not a nice-to-have; it is the only acceptable design. If you want the same no-upload approach for QR codes, we built an identical tool for them — read the free QR code enhancer guide.
All 14 Symbologies the Enhancer Supports
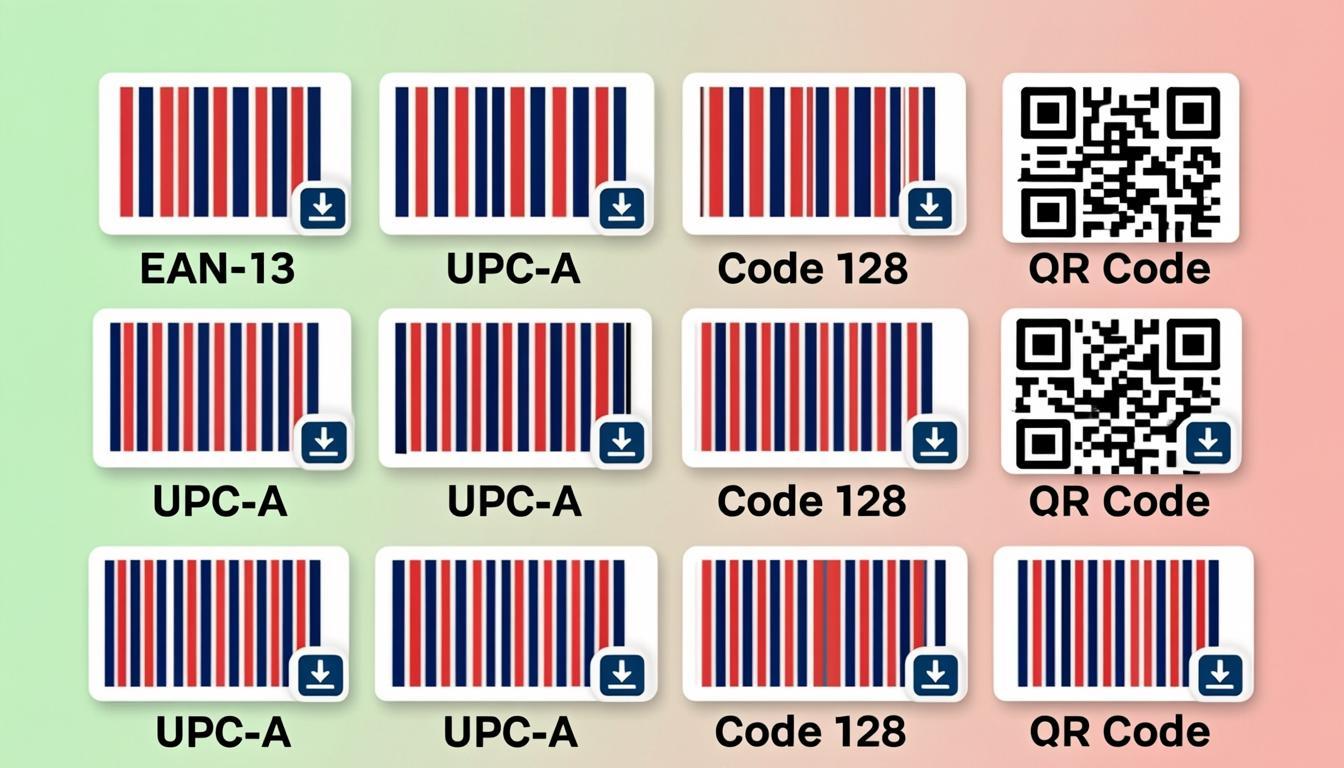
An enhancer that only reads one barcode type fixes one barcode type. The QREndless enhancer auto-detects and regenerates 13 symbologies, and additionally recognizes ITF-14 when a 14-digit ITF payload carries a valid check digit — 14 formats in total, spanning retail, logistics, pharma, and travel:
| Symbology | Where you meet it |
|---|---|
| EAN-13 | Retail products worldwide — the 13-digit number under almost every package |
| EAN-8 | Small retail packs where a full EAN-13 does not fit |
| UPC-A | Retail products in North America |
| UPC-E | Compact retail codes on small items |
| Code 128 | Shipping labels, GS1-128 logistics codes, asset tags |
| Code 39 | Warehouse labels, automotive and defense tagging, ID badges |
| Code 93 | Compact logistics supplement to Code 39 |
| ITF | Carton codes and interim packaging labels |
| ITF-14 | Shipping cartons — the 14-digit GTIN with a valid MOD 10 check digit is detected and labeled automatically |
| Codabar | Libraries, blood banks, air bills |
| Data Matrix | Pharmaceutical serialization, electronics part marking, small-parts traceability |
| QR Code | Marketing, tickets, payments, GS1 Digital Link |
| PDF417 | Driver licenses, boarding passes, ID cards |
| Aztec | Airline and transit tickets |
You do not pick the type — upload the image and the enhancer identifies the symbology for you, shows the decoded data, and regenerates in the same format. Curious how 1D and 2D symbols differ under the hood? See our QR code vs. barcode comparison.
The Four Enhancement Modes: Sharpen, Upscale, Repair, and All
One output size does not fit every job. The enhancer gives you four modes, each with a distinct job:
Sharpen — Maximum Resolution
Sharpen mode regenerates the barcode at maximum resolution. Use it when the barcode's final destination is a scanner with high demands — retail point-of-sale, compliance labeling, or any print run where a failed scan costs money. The output is the cleanest possible render of your decoded data, with contrast forcing and quiet zones applied.
Upscale — Size Boost
Upscale mode multiplies the output size. Pick the boost level yourself: Low = 2x, Medium = 3x, High = 4x, Ultra = 8x. A warehouse rack label that will be scanned from two meters away needs more physical size than a shelf tag. Upscale mode gives you that size without changing the error correction settings. It is the right choice for posters, signage, and packaging where the barcode has to read from a distance.
Repair — High Error Correction
Repair mode forces maximum error correction and rebuilds the symbol for harsh environments: outdoor exposure, crates that get scrubbed, labels under stretch film, freezer stock. For 2D symbologies it sets error correction to H — the strongest level. If your barcode took physical damage and needs to survive more of it, Repair is the mode.
All — Full Enhance
All mode combines the full pipeline: decode, regenerate, contrast forcing, quiet zone injection, and size boost. When you are not sure which mode you need, All is the safe default.
One honest technical note: error correction levels are a real property of 2D symbologies (QR Code, PDF417, Aztec). Linear barcodes like EAN-13, UPC-A, and Code 128 do not carry error-correction data — their reliability comes from clean bar geometry, correct check digits, and proper quiet zones. Regeneration delivers exactly that, which is why a regenerated 1D barcode scans better even without an "ECC level" of its own.
Error Correction L, M, Q, H — What 7%, 15%, 25%, and 30% Really Mean
For 2D codes, error correction is spare capacity built into the symbol. Damage, dirt, or a sticker over part of the code can be reconstructed mathematically at scan time. The four levels:
- L — ~7% recovery: smallest symbol, least durability. Fine for codes that live in clean, controlled conditions — a QR code on a website screenshot, for example.
- M — ~15% recovery: the everyday default. Good balance of size and durability for packaging, flyers, and tickets that are handled gently.
- Q — ~25% recovery: for environments with real wear — retail shelves, handling gloves, shipping sleeves. A common choice for product packaging.
- H — ~30% recovery: maximum durability. Outdoor use, industrial environments, codes printed on rough stock, and any symbol that must survive the worst day of its life. This is what Repair mode sets automatically.
The tradeoff is density: higher error correction packs the same data into more modules, so the symbol gets denser. That is why the enhancer lets you choose per job instead of forcing one level. If a code will be printed large or exported as vector, the density cost of H is usually irrelevant — and H is free insurance. If the code must stay physically small on a tiny part, M may be the smarter call. The same L/M/Q/H system is explained in depth for QR codes in our QR code error correction guide.
Resolution Presets: 256px to 4K and What They Print At
The enhancer offers six output presets, and each one states its physical print width at 300 DPI so you can match the symbol to its label:
- Small — 256px (about 22 mm at 300 DPI): website embeds, app screens, email footers.
- Medium — 512px (about 43 mm): standard product labels and shelf tags.
- Large — 1024px (about 87 mm): shipping labels, hang tags, catalog pages.
- Extra Large — 1536px (about 130 mm): carton labels and tote tags.
- 2K Full HD — 2048px (about 173 mm): pallet labels and signage.
- 4K Ultra — 3840px (about 325 mm at 300 DPI): posters, rack labels scanned from a distance, and print-shop master files.
Combine a preset with the Upscale mode multipliers (2x, 3x, 4x, 8x) when you need the regenerated symbol to tower over the source image's original size. And remember the golden rule of barcode printing: resolution does the surviving, but the symbol still needs to be physically big enough for the scanner that reads it. Bigger scan distance means bigger symbol.
Quiet Zones and Black-and-White Contrast Forcing
Two post-processing steps do a disproportionate share of the work, and both run automatically:
Quiet zone injection. The quiet zone is the empty white margin around the symbol — at least 10 module widths on the left and right of a 1D barcode, at least 4 module widths on every side of a 2D code. Scanners use it to find where the symbol begins. Screenshots destroy it constantly, which is why cropped barcodes are the single most common "why won't this scan" case we see. The enhancer measures the incoming margin and adds what is missing. (The concept is the same for QR codes — we cover it in the QR code quiet zone guide.)
Black-and-white contrast forcing. Every pixel in the regenerated symbol is forced to pure black or pure white. No gray, no color cast, no compression halo. Barcode scanners threshold the image into two colors before decoding, so every gray pixel is a coin flip the scanner has to make. Removing the gray removes the coin flips — and with them, most marginal-scan failures. Faded thermal prints, washed-out screenshots, and tinted product photos all come out of this step looking like fresh professional artwork.
Bulk Enhancement: Fix Up to 500 Barcodes in One Batch
Fixing one barcode is nice. Fixing five hundred is a workflow.
The enhancer supports bulk processing of up to 500 images in a single batch. Select multiple files or drag and drop a whole folder of barcode images. Each barcode is processed one at a time, with yield points that keep the browser interface responsive — a progress overlay shows the current file and the completion percentage, so you always know where the batch stands.
When the batch finishes, the Download All button exports everything in one click:
- Raster formats (PNG, JPG, WebP) are bundled into a single ZIP archive.
- Vector formats (SVG, EPS) are bundled into a ZIP as well.
- PDF export produces a multi-page PDF with one barcode per page — send it straight to a label printer.
Every file in the archive is named with a numbered suffix so you can match outputs to inputs. Typical bulk jobs: relabeling a product catalog before a marketplace migration, rebuilding a warehouse's label library, regenerating every ticket for an event, or cleaning up an archive of supplier barcodes before a design system update. If your job is creating new codes in bulk rather than repairing existing ones, pair this with our dedicated bulk barcode generator — and see the bulk barcode generator guide for that workflow.
Export Formats: PNG, JPG, WebP, Transparent PNG, SVG, PDF, EPS
Different destinations need different file types. The enhancer exports seven, and each has a clear best use:
- PNG — the universal raster. Use it for websites, documents, and anywhere a dependable image is needed.
- JPG — smaller files for email and social platforms, where a barcode just needs to be visible.
- WebP — the modern web format: PNG-quality output at a fraction of the file size for fast-loading pages.
- Transparent PNG — the barcode on a transparent background, ready to place on any packaging design, label template, or brand layout.
- SVG — true vector. Scales to any size with zero pixelation, from a 12 mm shelf tag to a warehouse poster. The print shop's favorite.
- PDF — print-ready documents, one barcode per page. Hand the file to any print vendor with no font or software surprises.
- EPS — professional print workflows and legacy design software that still expect it.
For anything headed to a professional printer, choose SVG or EPS — vector output never gets pixelated no matter how large it is printed. For label sheets and vendor drop-ins, choose PDF. For pixels on screens, PNG and WebP cover everything.
How to Fix a Blurry Barcode in Under a Minute
- Open the tool: go to the Barcode Enhancer. It loads instantly and needs no account.
- Upload the image: select a file or drag and drop it. PNG, JPG, and other standard image formats work. A phone photo is fine — flat and well-lit gives the best decode.
- Check the decode: the enhancer identifies the symbology and shows the decoded data. Read it. This is your one chance to confirm the tool recovered the right payload before you regenerate.
- Pick the mode: Sharpen for maximum resolution, Upscale for size (2x–8x), Repair for harsh environments (forces ECC H), or All for the full pipeline.
- Set the error correction (for 2D codes): L, M, Q, or H. When in doubt, choose H.
- Choose the resolution preset: match the physical print size you need — 512px for shelf labels, 4K for signage, or export SVG/PDF and let the printer scale it.
- Enhance and download: click enhance, compare the before/after preview, then download in any of the seven formats. Working with many files? Use Download All to export the batch as a ZIP or multi-page PDF.
Tip: if the first decode fails on a very blurry photo, retake it flat and evenly lit rather than at an angle — the multi-pass retries (padded quiet zone, sharpened retry) catch most of the rest.
Real-World Examples
Example 1: The blurry EAN-13 from a phone photo. A small food brand inherited product photos from an old distributor. The EAN-13 on the packaging shot is 180 pixels wide and soft from compression. Upload, decode (EAN-13 detected, payload shown), Repair mode at Medium 512px, download as PNG. The regenerated symbol has crisp bars, a correct check digit, human-readable digits underneath, and a fresh quiet zone. It scans at the retail counter on the first try.
Example 2: The cropped Code 128 shipping label. A logistics team screenshots GS1-128 codes from a legacy system. Every screenshot cuts the quiet zone to zero, so handheld scanners reject about one label in five. Bulk upload 120 screenshots, regenerate at Large 1024px with quiet zone injection, Download All as a multi-page PDF for the label printer. The 20% failure rate drops to effectively zero, because the quiet zone is now part of the symbol again.
Example 3: The scratched Data Matrix on a pharma carton. A serialized Data Matrix code survived a rough line but took a scuff across two quadrants. It still decodes — barely. Repair mode regenerates it with error correction H, and the output is exported as SVG for the reprint run. The new code has maximum built-in damage tolerance and clean geometry, so it reads on every scanner on the line, not just the forgiving ones.
Example 4: The 400-ticket event batch. An organizer receives QR ticket codes as individual low-res images from a ticketing platform. Bulk upload all 400, enhance at 2K with contrast forcing, Download All as a ZIP of PNGs for the digital tickets and a multi-page PDF as a physical backup for the gate. Total hands-on time: a few minutes.
Who Uses a Barcode Enhancer?
- Retail and e-commerce sellers: marketplace listings demand clean GTIN images. Enhance supplier photos into crisp EAN-13/UPC-A artwork that passes platform checks.
- Warehouse and logistics teams: rebuild faded Code 128, ITF-14, and SSCC-family labels before they fail at the dock. Every rescued label is a refused-freight fee that never happens.
- Pharma and healthcare: regenerate Data Matrix serialization codes when originals are damaged, keeping every pack machine-readable for compliance and track-and-trace.
- Print shops and label converters: customers arrive with blurry artwork. Instead of rejecting the job, decode it and deliver print-ready SVG or EPS in minutes.
- Event organizers: bulk-repair ticket barcodes and QR codes, then export gate-ready multi-page PDFs.
- Libraries and blood banks: legacy Codabar labels get a second life as clean regenerated symbols.
- Designers and packaging teams: extract a clean, transparent-background master of a product's barcode from the only image that exists, and place it into the label layout without redrawing anything.
- Developers and QA: regenerate known-good test symbols from captured images when building or testing scanning systems.
Barcode Enhancer vs. Reprinting, Re-Typing, and AI Upscalers
| Approach | What actually happens |
|---|---|
| Reprint from original artwork | The gold standard — when the artwork exists. Often it does not, or it takes days to arrive. |
| Re-type the number | One mistyped digit creates a barcode that is wrong but looks right. Check digits catch some errors; long GS1 strings make hand-typing slow and risky. |
| AI image upscaler | Invents photo-style detail between pixels. The output looks sharp and still fails scanners, because barcodes need hard binary edges, not pretty ones. |
| Print the screenshot bigger | Scales the blur up along with the symbol. Bigger does not mean cleaner. |
| Barcode Enhancer | Decodes the data, regenerates a new symbol with exact geometry, correct check digits, real quiet zones, and forced contrast — deterministically, free, in your browser, up to 500 at a time. |
The pattern is simple: every other approach operates on pixels or risks the data. The enhancer operates on the data and rebuilds the pixels.
Tips for a 100% First-Scan Rate
- Read the decoded payload before downloading: the enhancer shows what it recovered. Ten seconds of checking beats a whole mislabeled batch.
- Use Repair (ECC H) for anything that leaves the building: outdoor labels, scrubbed crates, and frozen stock all benefit from maximum error correction on 2D codes.
- Export SVG or PDF for print vendors: vectors scale to any size with zero pixelation.
- Keep the quiet zone in your design: when placing an exported barcode into a label template, do not crop the white margin to "save space". That margin is functional.
- Print black on white, matte: black bars on a light, non-glossy background give scanners maximum contrast. Avoid red and light-colored bars — red reads as white to red-laser scanners.
- Match symbol size to scan distance: shelf tags and rack labels have very different size requirements. Bigger distance, bigger symbol.
- Test before the print run: scan a printed proof with two or three different phones, and for a deeper check grade the print with our barcode verifier — the barcode verifier guide explains A–F grading.
- Keep one master file: store the SVG export as the master copy. Any future size or format is a re-export away, and the source of truth is the data, not a photo.
FAQ
Is the barcode enhancer really free?
Yes — every feature is free: all 14 symbologies, all four modes, 4K output, all seven export formats, and bulk processing up to 500 barcodes per batch. No sign-up, no watermark, no usage caps, no premium tier.
Which barcode types can it fix?
EAN-13, EAN-8, UPC-A, UPC-E, Code 128, Code 39, Code 93, ITF, ITF-14 (auto-detected from valid 14-digit payloads), Codabar, Data Matrix, QR Code, PDF417, and Aztec. Detection is automatic — upload the image and the tool identifies the type and shows the decoded data.
How many barcodes can I fix at once?
Up to 500 images in a single batch. Upload multiple files or drag and drop a group. Each barcode is processed one at a time with progress tracking, and the Download All button exports the whole batch as a ZIP (PNG, JPG, WebP, SVG, EPS) or a multi-page PDF with one barcode per page.
Do my barcode images get uploaded to a server?
No. Decoding, regeneration, contrast forcing, and export all run locally in your browser. Nothing is uploaded, stored, or logged anywhere. After the page loads, the tool even keeps working offline. Your product codes, patient data, and ticket information never leave your device.
What is the difference between Sharpen, Upscale, and Repair?
Sharpen regenerates at maximum resolution for the cleanest possible symbol. Upscale boosts the output size with a multiplier — Low 2x, Medium 3x, High 4x, Ultra 8x — for signage and long-distance scanning. Repair forces maximum error correction (level H, about 30% recovery) for barcodes heading into harsh environments. All mode runs the complete pipeline together.
Which error correction level should I choose?
For 2D codes: L (~7% recovery) for clean, controlled conditions; M (~15%) as the everyday default; Q (~25%) for real-world handling; H (~30%) for outdoor, industrial, or high-stakes labels. Higher levels make the symbol denser. If you are unsure, H is the safe choice — or just use Repair mode, which sets H automatically.
What size should I export for printing?
Match the preset to the physical label: 512px prints about 43 mm wide at 300 DPI, 1024px about 87 mm, 2048px about 173 mm, and 4K (3840px) about 325 mm. For print shops, skip the pixel math entirely and export SVG or EPS — vector files scale to any size without pixelation.
Will the enhanced barcode contain exactly the same data?
Yes. The output is regenerated from the decoded payload, not from the blurry pixels, so it carries exactly the data that was read from your image. Check digits are recomputed according to each symbology's rules during regeneration. Always read the decoded data shown after upload — that visible check is your confirmation before you download.
Can it fix any blurry photo?
Most, honestly, but not every extreme. The multi-pass engine retries with a padded quiet zone for tight crops and a sharpened pass for blur, which rescues the large majority of real-world photos. A symbol that is physically torn, or so out of focus that bars merge into gray, may not decode — in that case, retake the photo flat and evenly lit. If the data is printed as text under the symbol, you can always verify it and regenerate from the number with our barcode generator.
Does it remove logos and frames from barcodes?
Yes. Because the enhancer regenerates the symbol from data, logos, frames, background graphics, and decorative text are simply not part of the output. The result is the bare, standard-compliant symbol — exactly what scanners want, and exactly what your label design needs.
Ready to Fix Your Barcodes?
You now know why barcodes fail, why the obvious fixes make things worse, and how decode-and-regenerate turns any surviving image into a clean, print-ready symbol — one barcode or five hundred at a time. The fastest next step is to try it on the barcode that brought you here.
Open the free Barcode Enhancer, drop in your image, and download a regenerated, high-resolution barcode in under a minute — no sign-up, no upload, no watermark. Need to read a barcode before you fix it? Use the barcode scanner (see the free barcode scanner guide). Want to grade a printed label before the big run? Open the barcode verifier. Suspect the number itself is wrong? Check it with the barcode validator. Working with QR codes too? The QR Code Enhancer applies the same no-upload repair pipeline to QR codes. And to send regenerated barcodes straight to a Zebra thermal printer, use the ZPL generator.
Fix the picture, keep the data, and every scanner in the chain beeps on the first try.